Select the BuildingEngine gameObject in the Hierarchy. Hit Play button, a menu appears in the inspector.
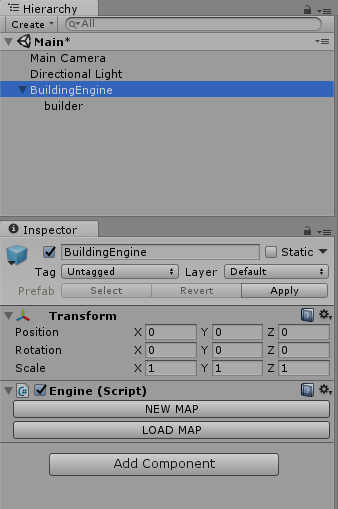
Hit the "NEW MAP" button. The inspector of the Map object appears.
Important : if you select a gameObject in the Hierarchy or the Scene View, the Inspector of the Map object disappears. To retrieve it, select the BuildingEngine gameObject in the Hierarchy, then hit the "SHOW MAP" button.
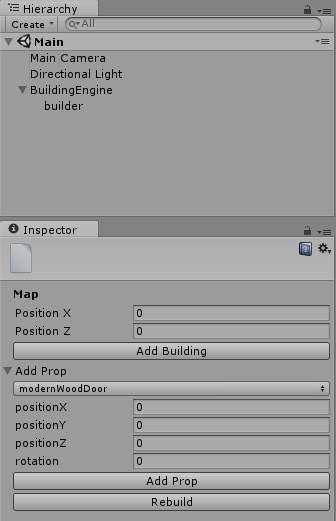
Hit the "ADD BUILDING" button. A Building (named BD0) object is added to the Map object. The Inspector changes for the Building Object. A Story object (named S0) is automatically added to the Building object.
Add a "whiteWall" material in the facade material slot.
For roof style, select "flatRoof".
Add "whiteWall" material in the roof material slot.
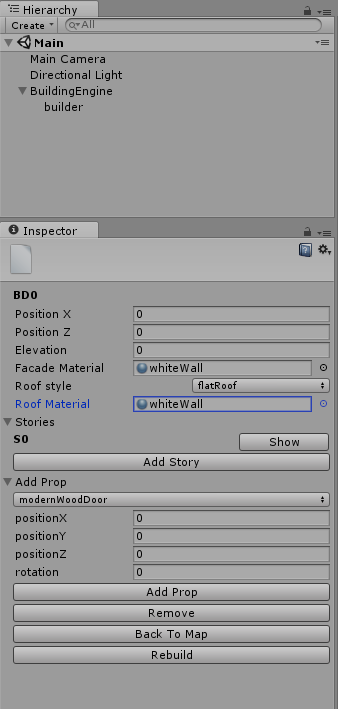
Now hit the "SHOW" button right to the S0 label. The inspector of the story S0 appears.
According to our sketch, we change the value of the story :
width = 16 (the length of the story on the X axis).
height = 8 (the length of the story on the Z axis).
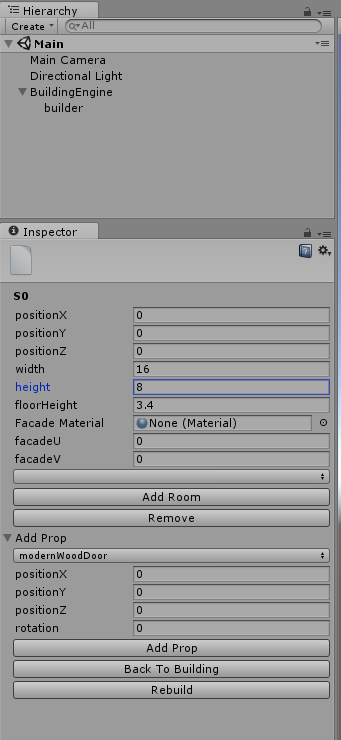
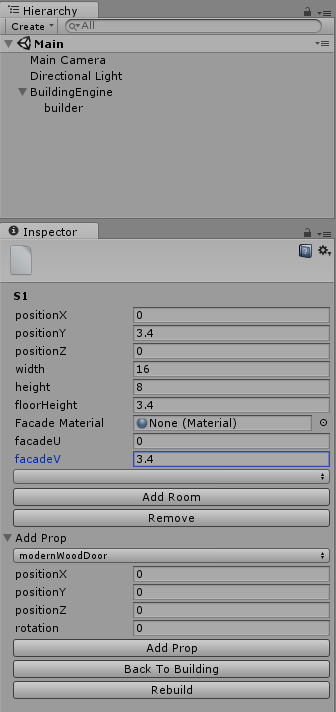
Hit the "BACK TO BUILDING" button. The inspector goes back to the building object. Now we add a second floor. Hit the "ADD STORY" button. Behind the "S0" label, a "S1" label appears. Hit the "SHOW" button next to it. The S1 inspector appears.
We change some value :
positionY = 3.4 (we place this story above the first one. 3.4 is the default height of a story, as set in the architectural propoerties).
width = 16.
height = 8.
facadeV = 3.4 (we offset vertically the texture of the facade of 3.4 units. So we obtain a seamless texturing between the two stories).
© 2017 Magyc Pixel. All rights reserved | Design by W3layouts